Achieving Perfect Visual Harmony in Photography
- Keyur Mehta
- Jan 12
- 4 min read

When you pick up your camera, what’s the first thing you want your photo to do? For most of us, it’s to feel right. That sense of calm, order, or even excitement that pulls you in and keeps your eyes glued to the frame. That’s where achieving perfect visual harmony in photography comes into play. It’s not just about snapping a pretty picture; it’s about creating a balanced composition that speaks to the viewer’s soul.
You might wonder, “How do I get that balance? Is it luck or skill?” The good news is, it’s mostly skill, and you can learn it. Let’s dive into how you can master this essential element and elevate your photography to the next level.
Why Visual Harmony in Photography Matters
Imagine walking into a room where everything is scattered, colors clash, and nothing seems to fit. You’d probably feel uneasy or distracted, right? The same goes for your photos. Visual harmony is what makes your images feel cohesive and pleasing to the eye. It’s the secret sauce that turns a snapshot into a story.
When you create visual harmony in photography, you guide your viewer’s eye smoothly through the frame. You highlight the important parts without overwhelming or confusing them. This balance helps your photos communicate emotions, ideas, and narratives more effectively.
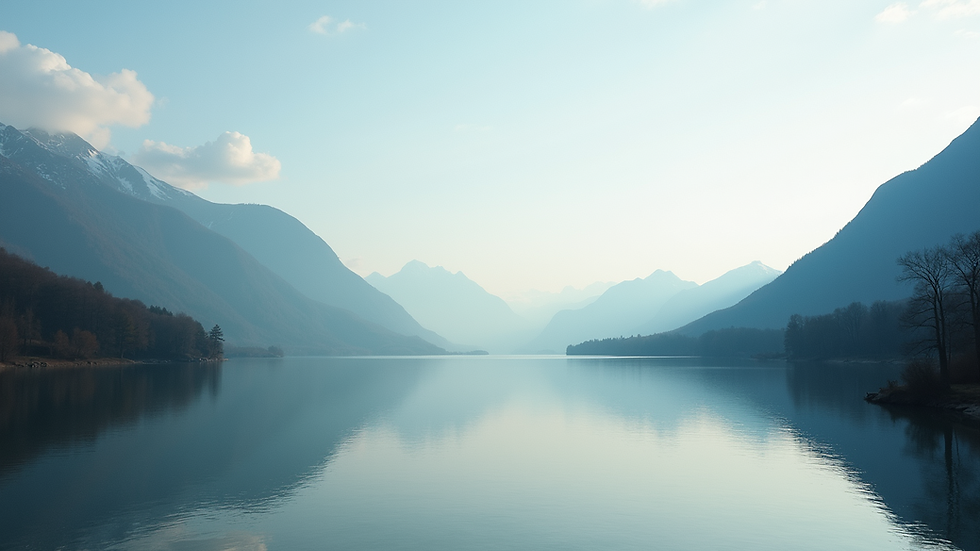
For example, think about a landscape photo where the horizon is perfectly level, the elements are spaced evenly, and the colours complement each other. Your eyes don’t jump around; instead, they rest comfortably, soaking in the beauty. That’s visual harmony working its magic.
How many kinds of balance are there in photography?
You might be surprised to learn that balance in photography isn’t just one thing. There are several types, each with its own vibe and use. Knowing these can help you decide which one fits your style or the story you want to tell.
Symmetrical Balance
This is the classic “mirror image” style. Both sides of your photo have equal weight and similar elements. It’s perfect for creating a sense of order and formality. Think of a perfectly centered building or a reflection in water.
Asymmetrical Balance
Here, the two sides aren’t identical but still feel balanced. You might have a large object on one side and several smaller ones on the other. This type feels more dynamic and interesting, often used to create tension or movement.
Radial Balance
This happens when elements radiate out from a central point, like the spokes of a wheel or petals of a flower. It draws the viewer’s eye to the center and then outward, creating a natural flow.
Crystallographic Balance (or Allover Balance)
This is when the entire frame is filled with evenly distributed elements, creating a pattern or texture. It’s less about a focal point and more about an overall sense of unity.
Understanding these types helps you experiment and find your unique voice. You don’t have to stick to one; mixing them can lead to exciting results.
Practical Tips to Achieve Perfect Balance in Your Photos
Now that you know the types of balance, how do you actually apply them? Here are some actionable tips you can start using right away.
Use the Rule of Thirds
Imagine your frame divided into nine equal parts by two vertical and two horizontal lines. Placing your subject along these lines or their intersections often creates a pleasing asymmetrical balance.
Pay Attention to Weight
Visual weight isn’t about physical size alone. Bright colours, contrast, and detail add weight. For example, a small bright flower can balance a large dark tree on the other side.
Frame Your Subject
Use natural elements like branches, windows, or doorways to frame your subject. This adds depth and helps balance the composition.
Negative Space is Your Friend
Don’t be afraid of empty space. It can balance a busy subject and give your photo room to breathe.
Experiment with Angles
Sometimes, changing your shooting angle can create better balance. Try shooting from a low or high angle to see how it affects the composition.
Use Leading Lines
Lines that lead the eye into the photo can help balance elements by guiding attention where you want it.
Check Your Background
A cluttered background can throw off balance. Simplify it or blur it out with a wider aperture.
Remember, balance is about how the elements relate to each other, not just where they are placed. Take your time to observe and adjust.
How to Train Your Eye for Better Balance
You might think that balance is something you either have or don’t. But like any skill, it gets better with practice. Here’s how you can train your eye:
Study Great Photographs
Look at work from photographers you admire. Notice how they arrange elements and use light. Try to identify the type of balance they use.
Take Multiple Shots
Don’t settle for the first click. Move around, change angles, and try different compositions. Compare your shots and see which feels more balanced.
Use Editing Tools
Sometimes, cropping or adjusting exposure can improve balance. Don’t hesitate to tweak your photos in post-processing.
Seek Feedback
Share your photos with friends or online communities. Fresh eyes can spot balance issues you might miss.
Practice Mindful Observation
When you’re out and about, look for balanced scenes in everyday life. Notice how nature, architecture, and people create harmony.
By making these habits part of your routine, you’ll naturally develop a stronger sense of visual harmony.
Bringing It All Together: Your Path to Mastery
Achieving perfect visual harmony in photography isn’t about following rigid rules. It’s about understanding how different elements interact and using that knowledge to tell your story. Whether you’re capturing the bustling streets of Mumbai or the quiet corners of a park, balance helps your photos resonate.
Remember, the key is to experiment and trust your instincts. Use the types of balance as tools, not constraints. Keep practicing, and soon you’ll find your photos not only look good but feel right.
If you want to dive deeper into this topic, check out this resource on balance in photography for more insights and examples.
Happy shooting, and may your compositions always find their perfect balance!


Comments